
Zombies Aren't Real Defense Strategy: Protect More Civilians
Build a practical defense strategy in Zombies Aren't Real with safe zones, covered approaches, evacuation routes, and air support.
A practical first defense
Your objective has two parts: eliminate the zombies to win, while saving civilians determines your score. The official Steam page describes limited preparation resources and allows you to adapt after the outbreak starts. There is no verified universal build order, so treat the following as a starting plan for the map in front of you.
- Read the map. Find the outbreak location, civilian clusters, roads, bridges and buildings. Identify the approaches that could threaten the people you want to protect.
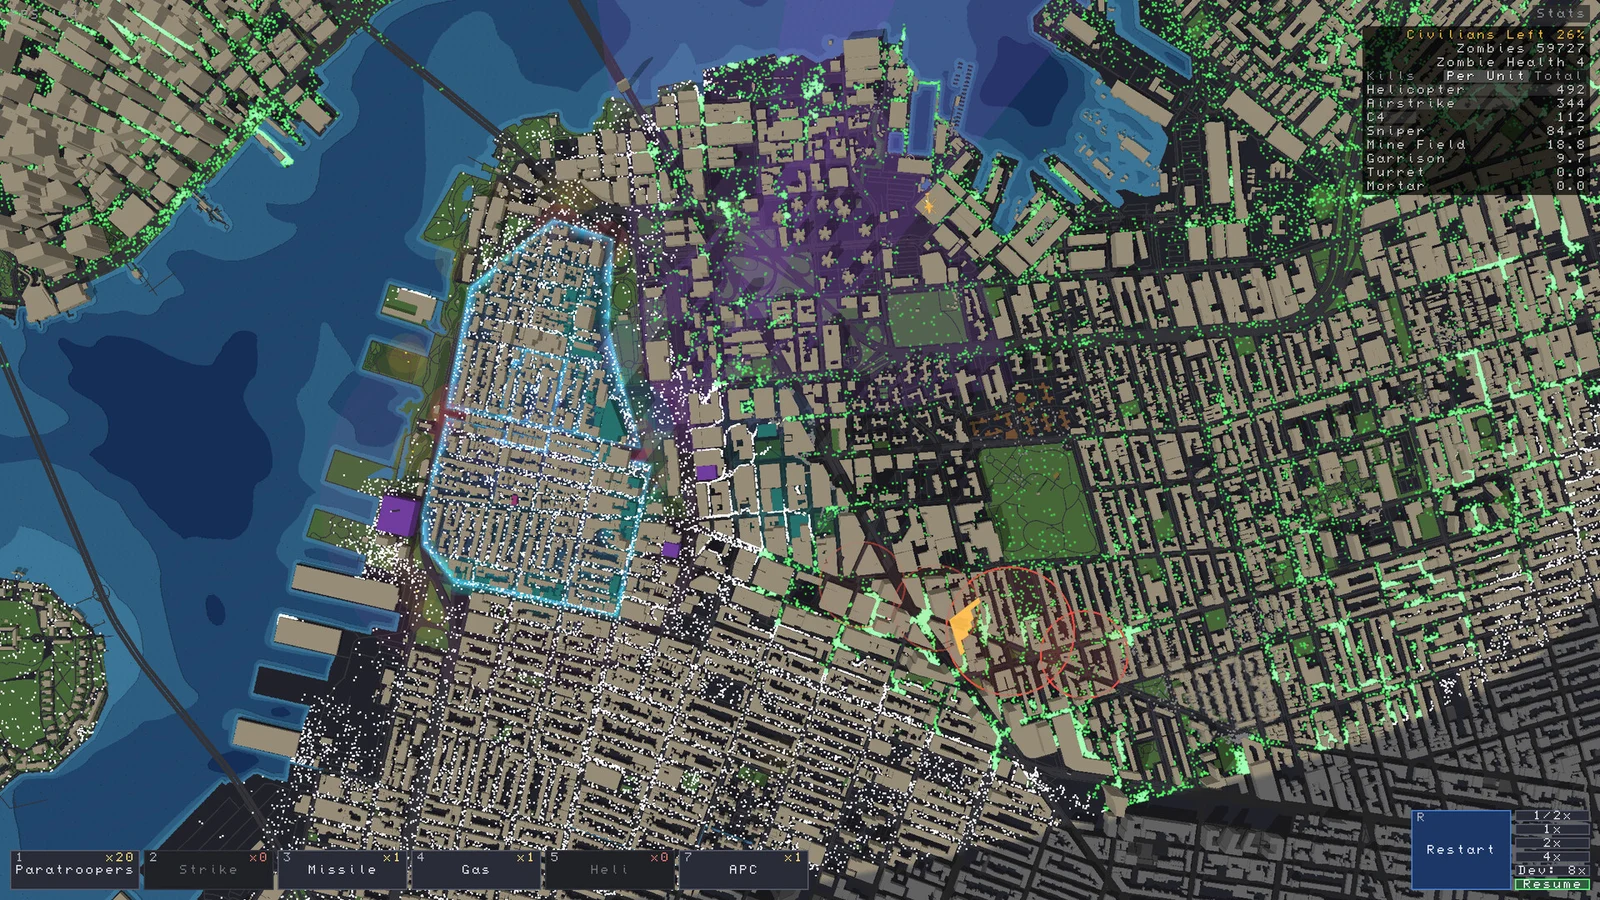
- Choose a manageable perimeter. Place a safe zone around a defensible area and put gates where civilians can approach. A larger perimeter may protect more ground but leaves more wall to cover.
- Cover the weak stretches. Place garrisons and other available ground forces to support the boundary, especially exposed approaches. Select a garrison and check its displayed range against the wall; revise either the placement or the boundary where coverage is missing.
- Give outsiders a route. Lead a nearby group toward an entrance with an Evac Corridor where the streets permit it. Consider Hold to gather people, but observe whether the tools cooperate in your build.
- Keep a response available. Watch for the first threatened approach after starting. Use the tools and resources available in the scenario to address the breach before it reaches the civilian group.
How to use ground and air support
Steam lists garrisons, snipers, turrets and mortar squads among the ground options, plus bombers and gatling-gun helicopters as air support. Choose positions based on the approaches you need covered rather than assuming one unit is best everywhere. The TPose guide recommends checking garrison coverage of the perimeter and using elevated positions for snipers and mortars; exact effectiveness depends on the map and build.
Air support can respond when the perimeter is overwhelmed, but the official description warns that poorly aimed strikes can hurt civilians. Check the target area and nearby evacuation route before committing an attack. A crowded gate is a particularly poor place to ignore civilian positions.
What to change when a plan fails
A wall breaks early: Select nearby garrisons and compare their range with the broken section. On the next attempt, shorten the exposed boundary or redistribute defenders. If a gate is nearby, check whether civilians can still reach it safely.
The line holds but few civilians are saved: Inspect the people outside the zone. Add a gate on their approach or try a clear corridor from their location. A lane only helps people who enter it, and buildings can obstruct their movement.
A strike kills civilians: Move the intended target away from the crowd where possible, or use another available response. Recheck where your evacuation route crosses the threatened area.
The defense is spread too thin: Focus resources on a smaller protected area and its main approaches, then compare the result on a retry. A compact plan is a useful experiment, not a guarantee for every city or difficulty.
For the basic mission loop and when to restart, see the beginner guide.
Sources and version
Reviewed November 16, 2026 for Early Access. The official Steam description supports the objective, listed forces and civilian risk from air strikes. TPose Gaming supplies the perimeter and positioning suggestions; its exact build is unspecified. These are conditional planning recommendations, not measured rankings. No hands-on test was performed.
Related Articles
guides
Zombies Aren't Real Beginner Guide: Plan, Deploy, Adapt
Plan the first outbreak, place a workable defense, and learn when to restart in Zombies Aren't Real.
guides
Zombies Aren't Real Co-op Guide: One Friend, Clear Roles
Make one-friend online co-op easier with clear roles, shared priorities, and a practical restart routine.
guides
Zombies Aren't Real Evac Corridor: How to Move Civilians
Learn how to place an Evac Corridor in Zombies Aren't Real, connect it to a safe zone, and troubleshoot stuck civilians.
Was this helpful?
Thanks for the feedback!